Using the Okteto CLI and Dashboard
Introduction to the Okteto Manifest
The Okteto Manifest is a configuration file, named okteto.yaml, that defines how your Development Environment behaves.
It's how you configure the behavior for building, deploying, testing, and developing your application in Okteto. The manifest also allows you to customize your development workflow by specifying the dependencies, environment variables, services, and commands required for your application.
With the Okteto Manifest, you can:
- Automate Your Development Setup: Automatically deploy your application configuration and set up the Development Environment with a single command
- Customize Your Environment: Tailor the configuration to match the needs of your application, such as setting environment variables or running specific startup scripts
Learn more about how the Okteto Manifest works in our Manifest Overview
Essential Okteto CLI Commands
The Okteto CLI is our open-source tool that let's you develop your applications on Okteto. If you haven't done so yet, install and configure the Okteto CLI following this guide.
Most developers interact with okteto via the Command Line Interface (CLI). Here we’ll explain common CLI commands and a typical workflow for using them.
| Essential CLI Commands | Description |
|---|---|
okteto context | Connect to your Okteto instance |
okteto deploy | Deploy your Development Environment described by the okteto.yaml in your current directory. If you want to force rebuild the images used in the Development Environment, pass the --build flag. You can also use --dependencies to force the redeployment of app’s dependencies |
okteto build | Build a new image for your Development Environment. This will build and push the images defined in the build section of your Okteto Manifest. Cache-less builds can be performed with the --no-cache flag |
okteto up | Start your Development Environment and connect your terminal window to the cloud environment. Note that if the Development Environment is already running, this will not redeploy it. If you want to force a redeploy pass the --deploy flag |
okteto down | Stops your Development Environment. Note that this does not destroy persistent volumes that were created for that Development Environment, to do so, pass the -v flag |
You can find a list of all available CLI commands in our full CLI reference guide ->
Overview of the Okteto Dashboard
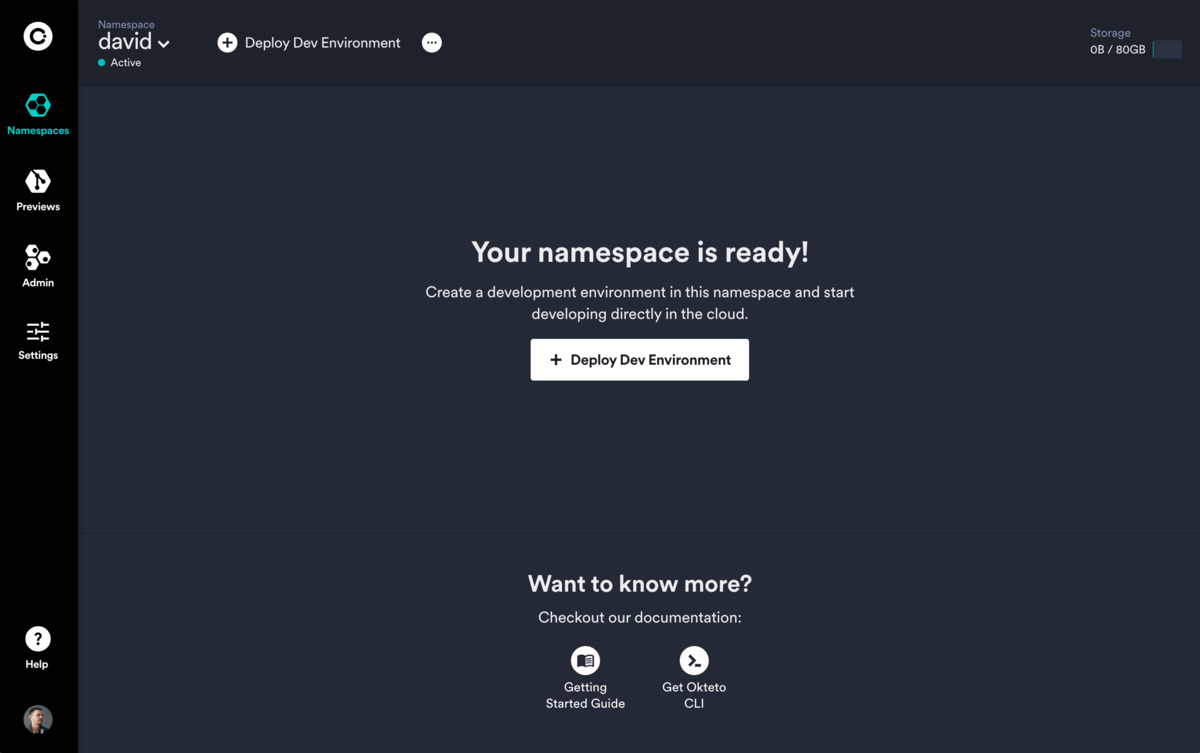
1. Your Personal Namespace
Automatically generated for each user, this Personal Namespace is uniquely named after your username or email, ensuring a personalized environment. These cannot be deleted, but their resources can be destroyed allowing the Personal Namespace to be reused.
2. Using the Catalog to Deploy a Development Environment
The most common way to deploy a Development Environment on Okteto is through the Catalog. The Catalog is a list of your applications, configured by a platform engineer on your team, with everything the application needs to run included. You can find the Catalog by clicking on the “Deploy a Dev Environment” button.
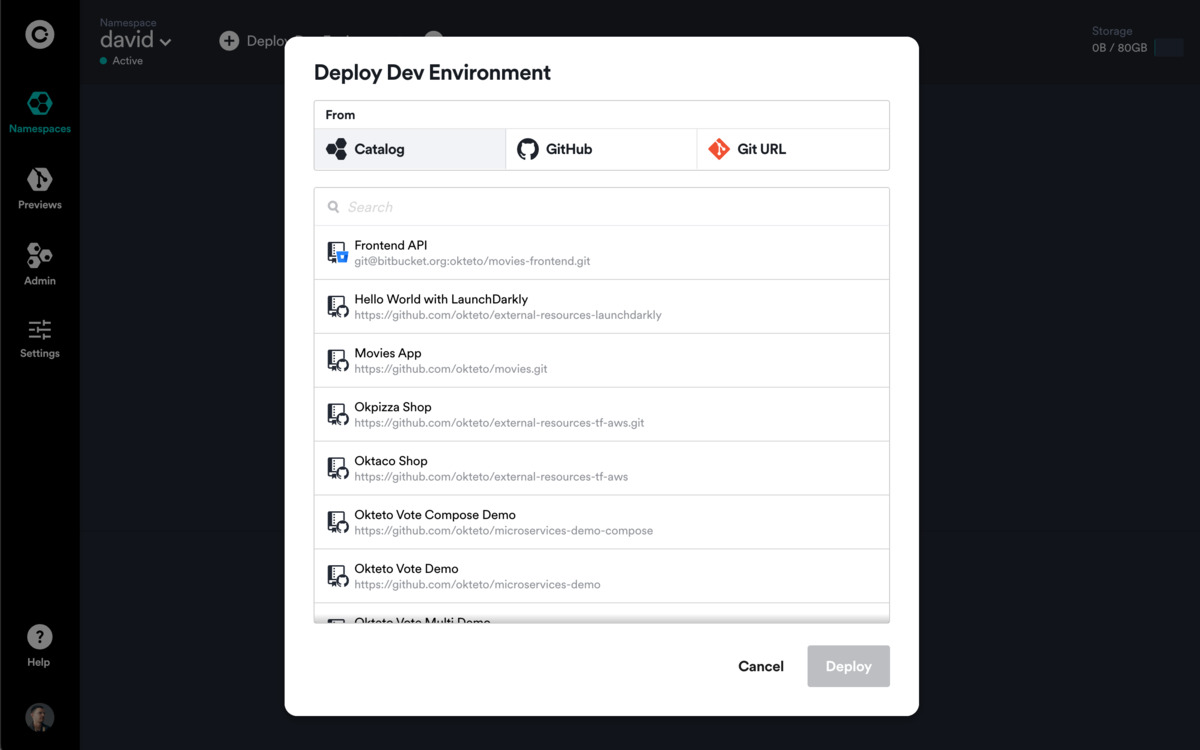
You can also deploy a Development Environment with the following methods:
- Git Repository: Deploy from a repository in a connected GitHub account
- URL: Deploy from a specific Git URL
3. Creating a New Namespace
To create a Namespace, go to the Okteto dashboard, click on your Namespace on the left, and at the bottom of the namespace list select (+) New Namespace.
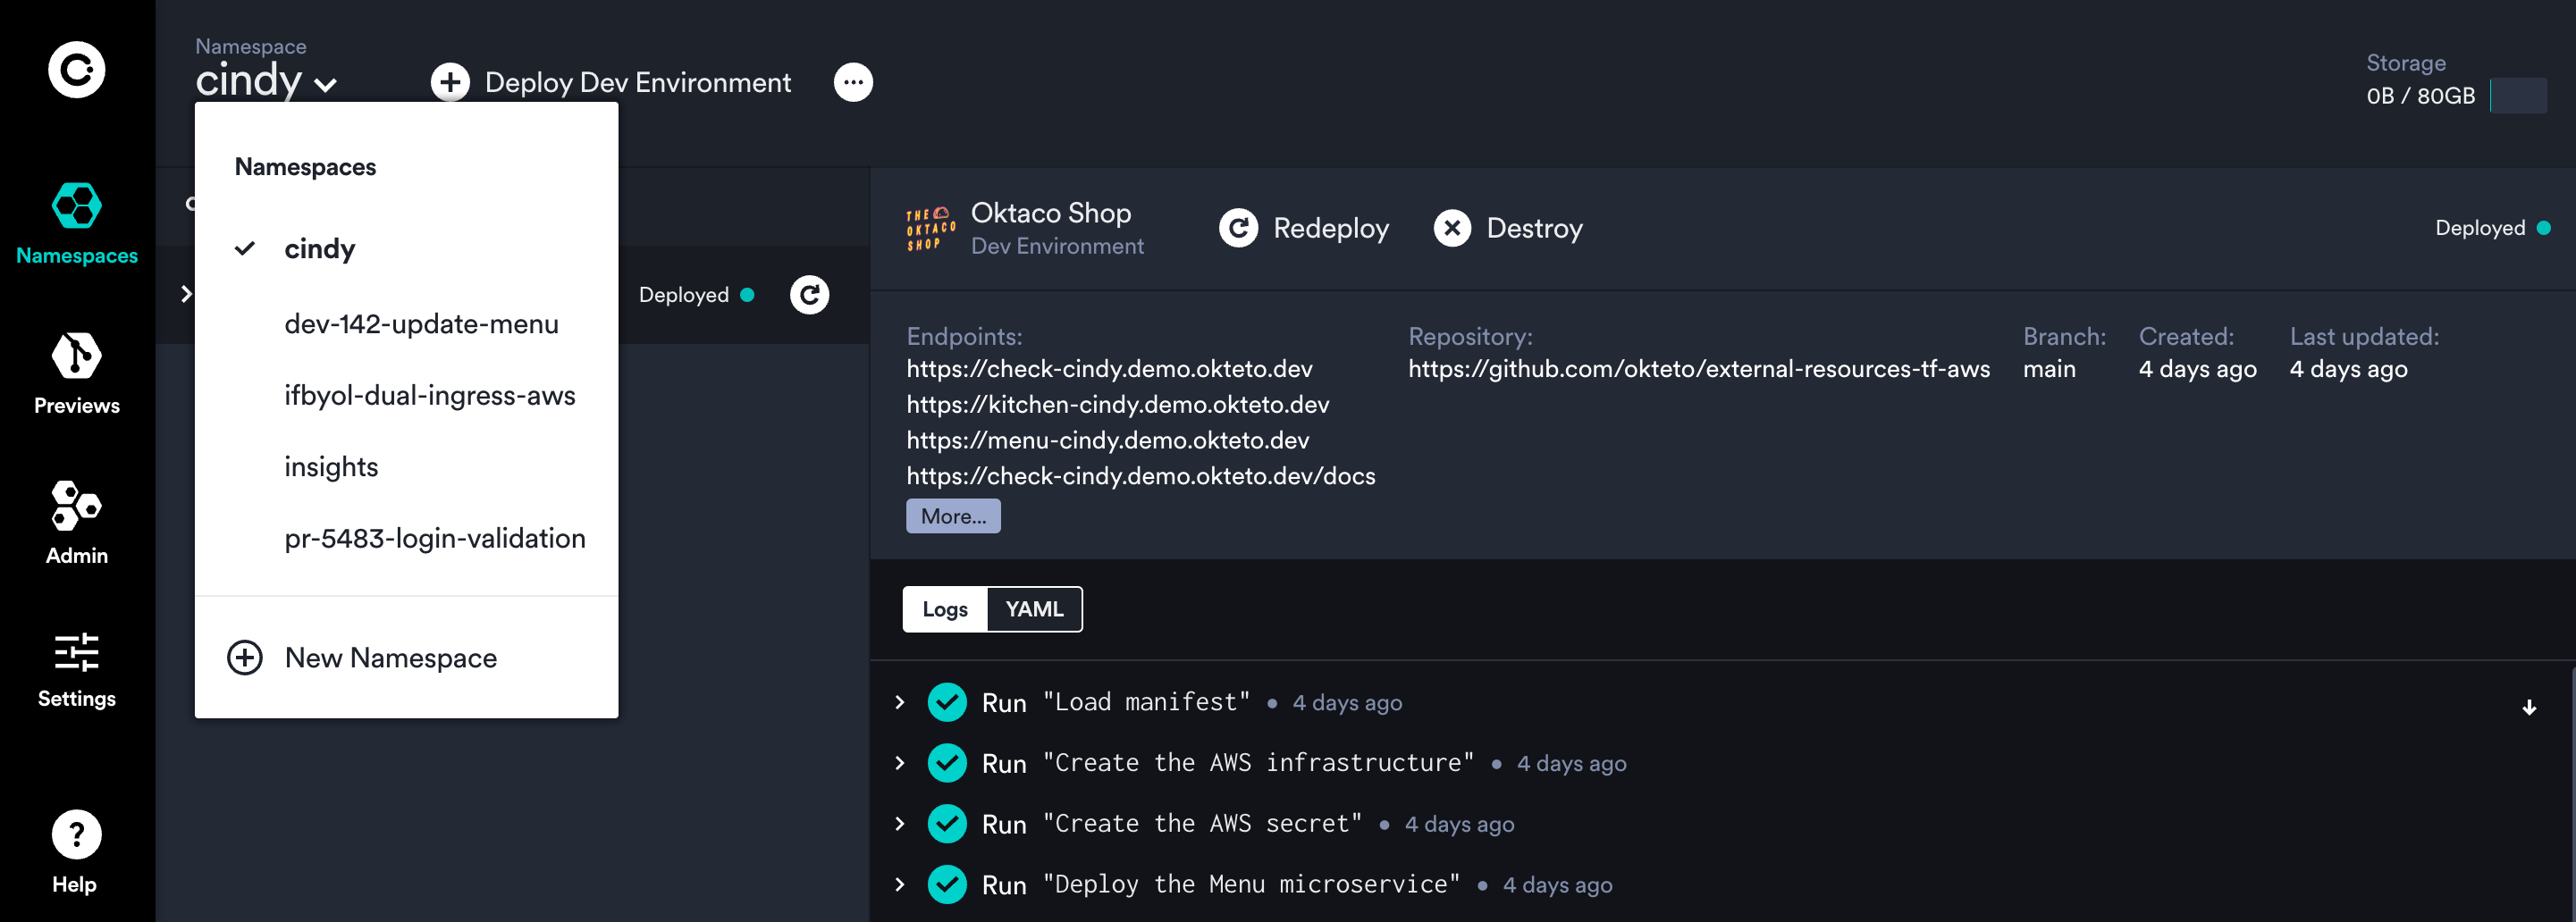
Namespaces can also be created with by using the okteto namespace create CLI Command
- Non-Personal Namespaces are additional Namespaces created by users or through automation, facilitating broader project collaboration and management. They may be deleted or transferred to other users.
- As a common practice, you might name your Namespace based on a feature number, ticket number, or a similar identifier. Development environments within these Namespaces are created from Git branches. This allows you to run multiple Namespaces simultaneously, each corresponding to a different branch or feature.
4. Sharing a Namespace
- Collaborate on several applications at once by sharing your namespace
- To share a Namespace go to the Okteto dashboard, select the namespace you want to share and press the
Sharebutton in the namespace menu (you'll find it in the main bar at the top).

Read more about sharing a Namespace here
5. Environment States
- Sleep: Suspend your environment to save resources, the Okteto Garbage collector configured by your Okteto admin will set the sleep periods after a certain amount of inactivity
- Destroy All: Remove all resources in a Namespace
- Keep Awake: Admins can choose to prevent Namespaces from sleeping so that they are always accessible
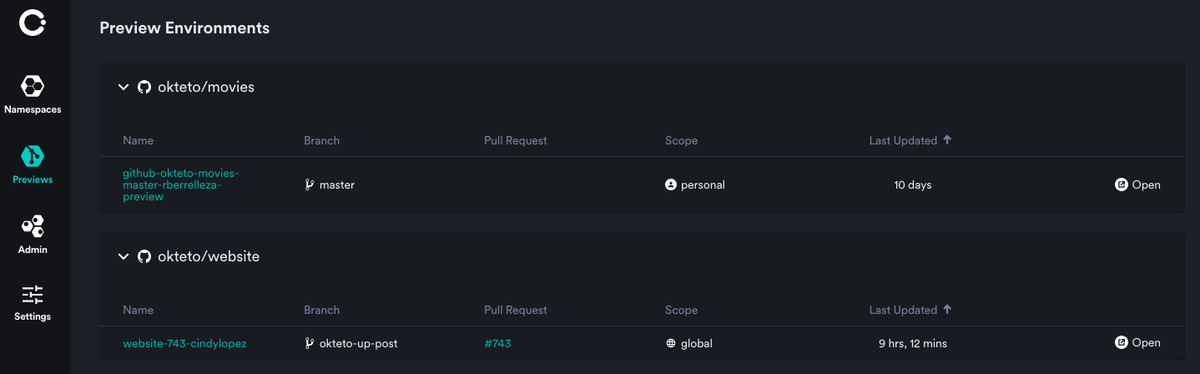
6. Preview Environments
- Temporary environments for testing features before merging into the main branch. These are a great way to share your changes with a QA Team or Product Manager
- Okteto Admins can configure Previews to work with your source control and CI/CD provider so that a Preview links are automatically added to submitted pull requests
Read more about Preview Environments here
Next Steps
Now that you know more about how to use Okteto, lets introduce some Advanced Commands & Concepts 😎